Help Centre
How to use Ride the Trails of Australia
The aim of this site is to help you find and book the amenities along a specific rail trail, see how far apart they are, and decide where you want to start riding and for how long. It caters for riders going from A to B, from A to B and back to A, and for those going from A to B to C and beyond.
Although the focus is mainly on rail trails, a trail sometimes extends beyond the limit of the official rail trail where an existing, well-used path exists. For example, from Kilkivan (the KKRT) to Wulkuraka (the BVRT), the trail connects the KKRT to the BVRT.
You can build an itinerary, adding the facilities along the trail as needed, save that itinerary, share it with friends or a group, generate a .gpx file of the route, and print the route out for easy reference.
Front page display
All the rail trails in Australia are listed here by state. You can also browse by list or via the map. Selecting either of these will bring up the rail trails relevant to that selection.
At the head of each selected rail trail is a link to that section on the Rail Trails of Australia website. That page carries a very comprehensive overview of the trail, complete with information on how to get there, what else to do, a history of the rail trail and other local attractions. Please use this link to get more information.
The Route & Amenities Map is a route view of the rail trail with all the amenities available along it. The green circle is a town and the number is how many amenities are at that location. Bigger towns have many more amenities available than are shown.
Amenities are: accommodation, food and drinks, toilets, parking, bicycle shops and eBike chargers.
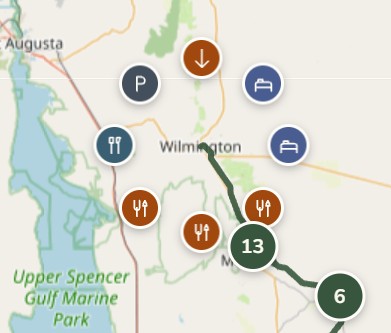
Amenities & the map
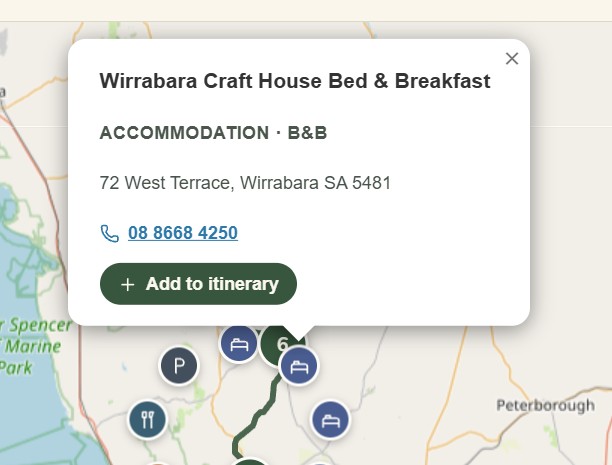
Hovering over an icon brings up a text box with the details of that amenity, with links to the website, email and telephone as applicable. Selecting these links (where available) takes you directly to that amenity.
Selecting the “Add to itinerary” box opens up the itinerary builder (more on that below).
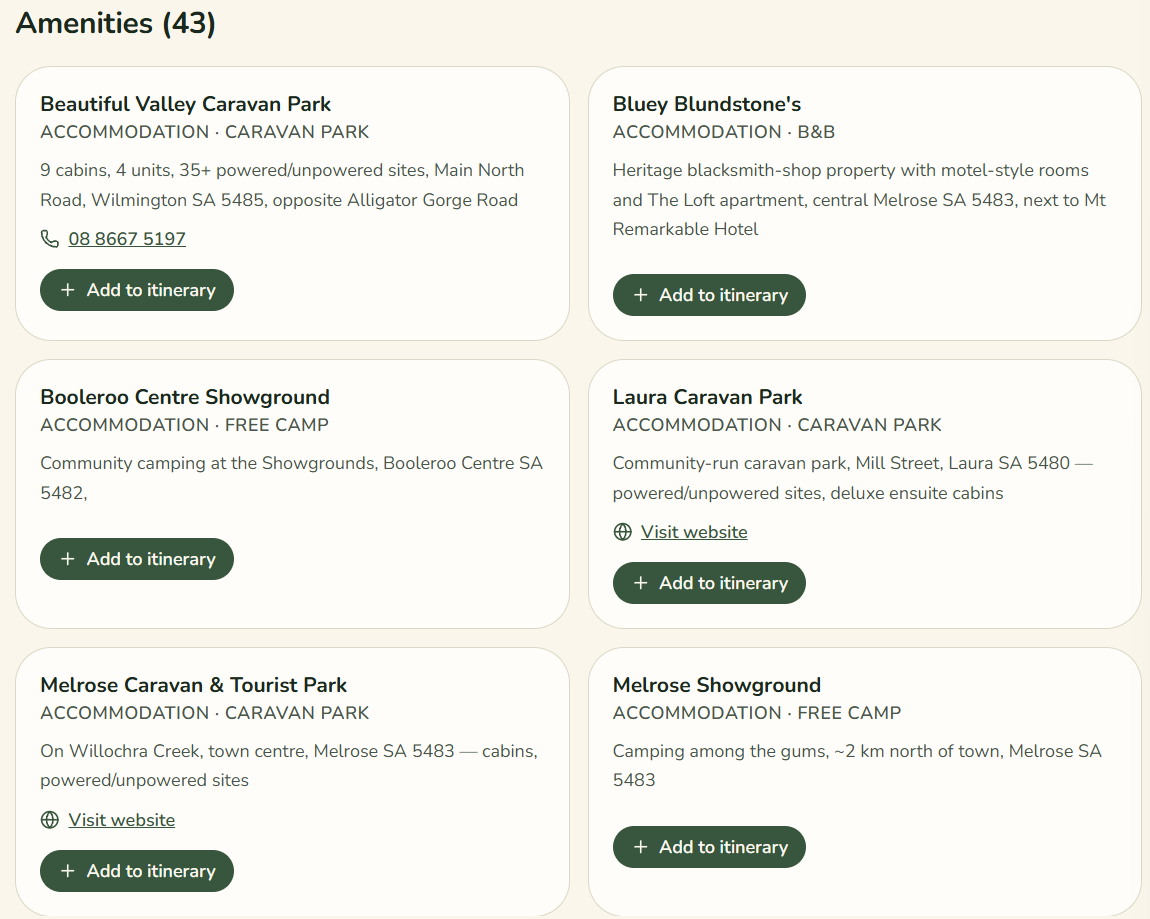
Below the map is a list of all these amenities for ease of selection, as picking the icons can be a bit tricky on smaller mobile devices.
The Plan a Trip section
This is where you plan your trip in detail: the number of legs, the number of days, where you start and where you stop.
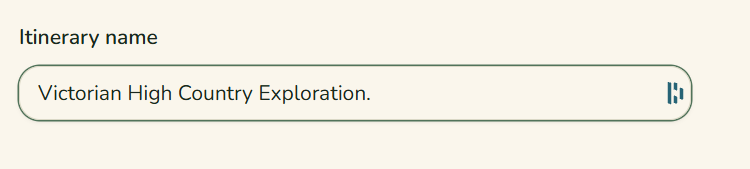
Itinerary name — name it and it will be so.
Itinerary so far — the step-by-step progress as you build up the trip.

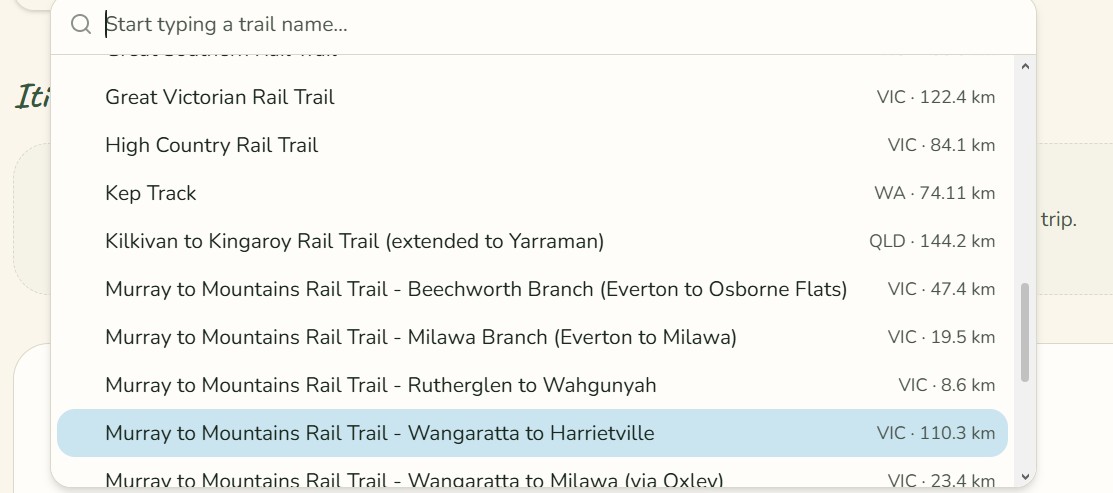
Start your itinerary — select the rail trail you will be riding on this trip. This is a drop-down box, and you can select the trail by scrolling or by typing the name.
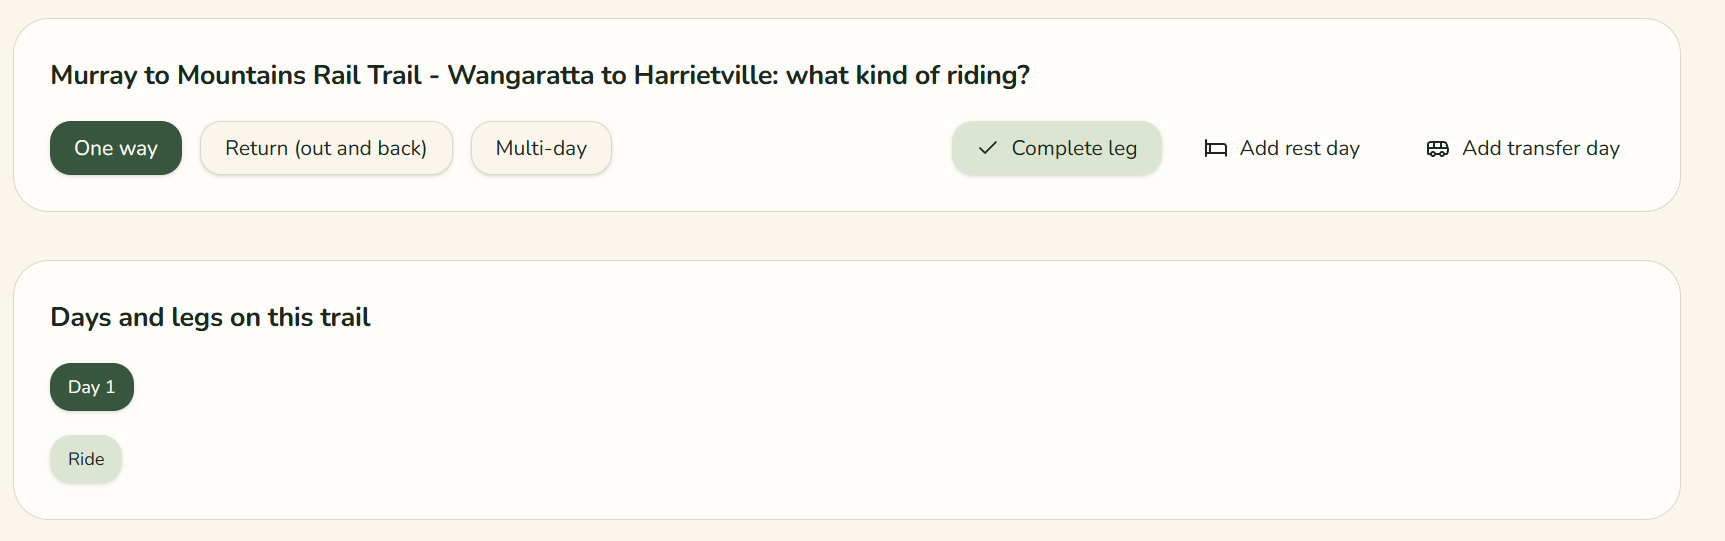
What kind of riding? Select whether it is a One way, Return (out and back), or Multi-day ride.

Legs, rest days & transfers
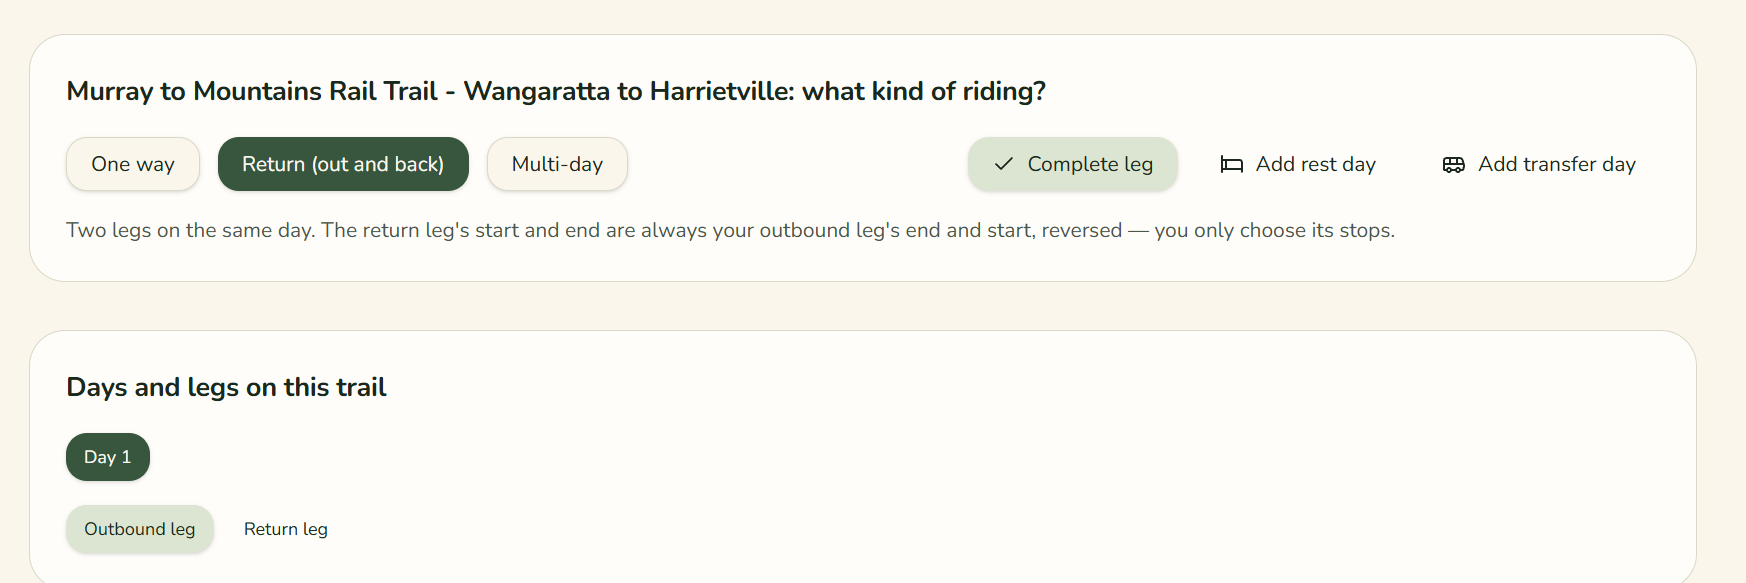
Return (out and back) treats the outbound as one leg and the return as a separate leg. The system automatically sets the start of the return leg as the end of the outbound leg.
Multi-day trips — each day is a separate leg. On these trips the start of the next day is set as the end of the previous day. Tick “doubles back” on any day that rides out and returns.
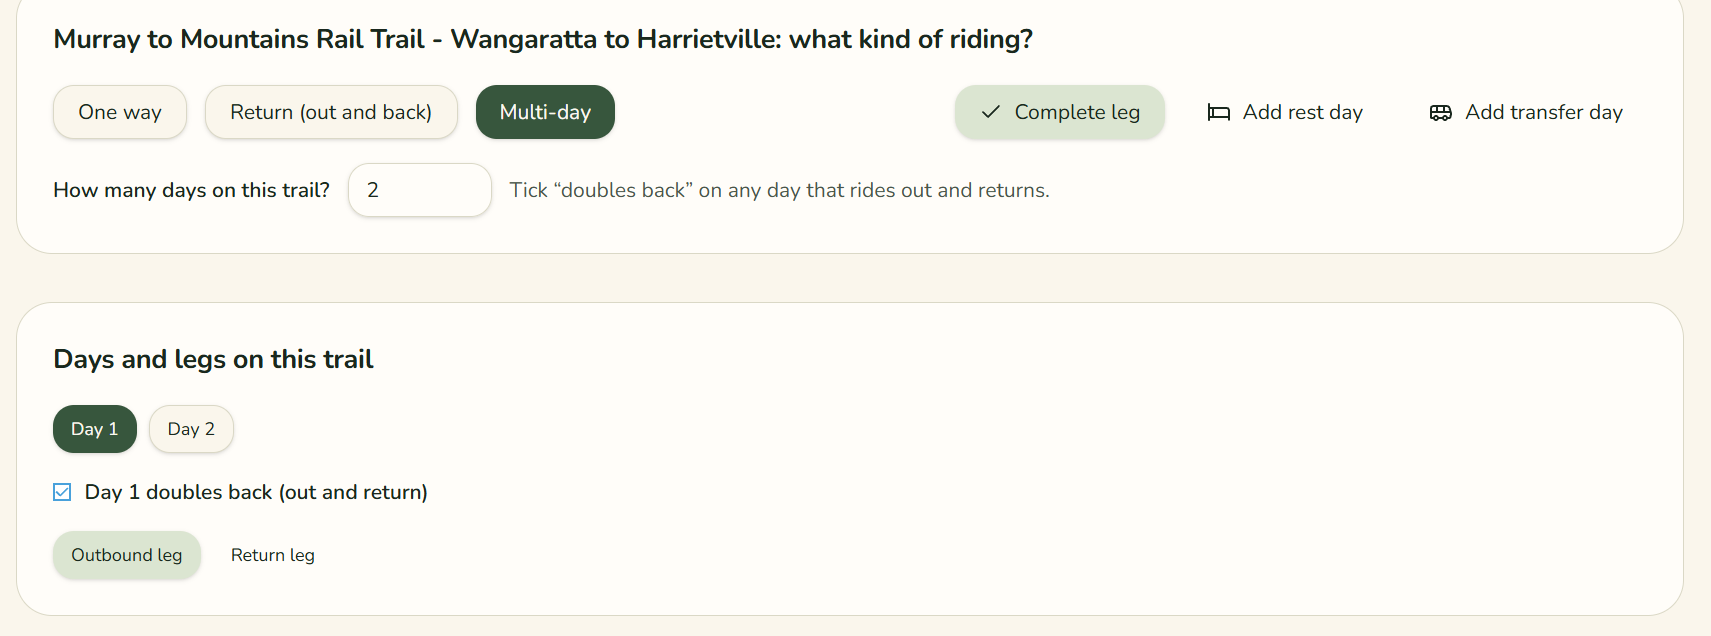
It is very important to click the “Complete leg” box at the conclusion of each leg.
If you have rest days or transfer days (between different sections of a trail) you can insert these between legs.
Your account & access
When you sign up for an account (Guest or Subscriber) a profile is set up where you can add all your details.
To get access to the itinerary builder you need to buy a one-off pass or become a subscriber. Browsing the system is free, as is creating an account. If you want to build an itinerary as a one-off, you can buy a 7-day pass.